Setting up for Serverless Development with AWS
A Guide to setting up a local development environment for developing Serverless Applications using the Serverless Framework

I am a Software Engineer and Architect with over a decade of hands-on software development experience.
Introduction
Beginning serverless development requires that you have certain packages or software installed on your computer that make it easy to develop applications using the Serverless Framework. This article outlines the process of downloading and installing the various packages needed. You should already have an AWS account to continue with the steps below.
Step 1: AWS IAM - Programmatic Access
AWS IAM (Identity and Access Management) is an access and permissions management service provided by AWS with fine-grained control over what services and usability boundaries apply to an IAM account. One great feature of an IAM user account is that it is different from your root account therefore you can easily revoke permissions whenever you feel the need to. It is advisable to set up an IAM user account for use in your development environment instead of using your root account.
We are going to set up an IAM account with programmatic access only - such that this IAM user will be able to access AWS resources via API calls only.
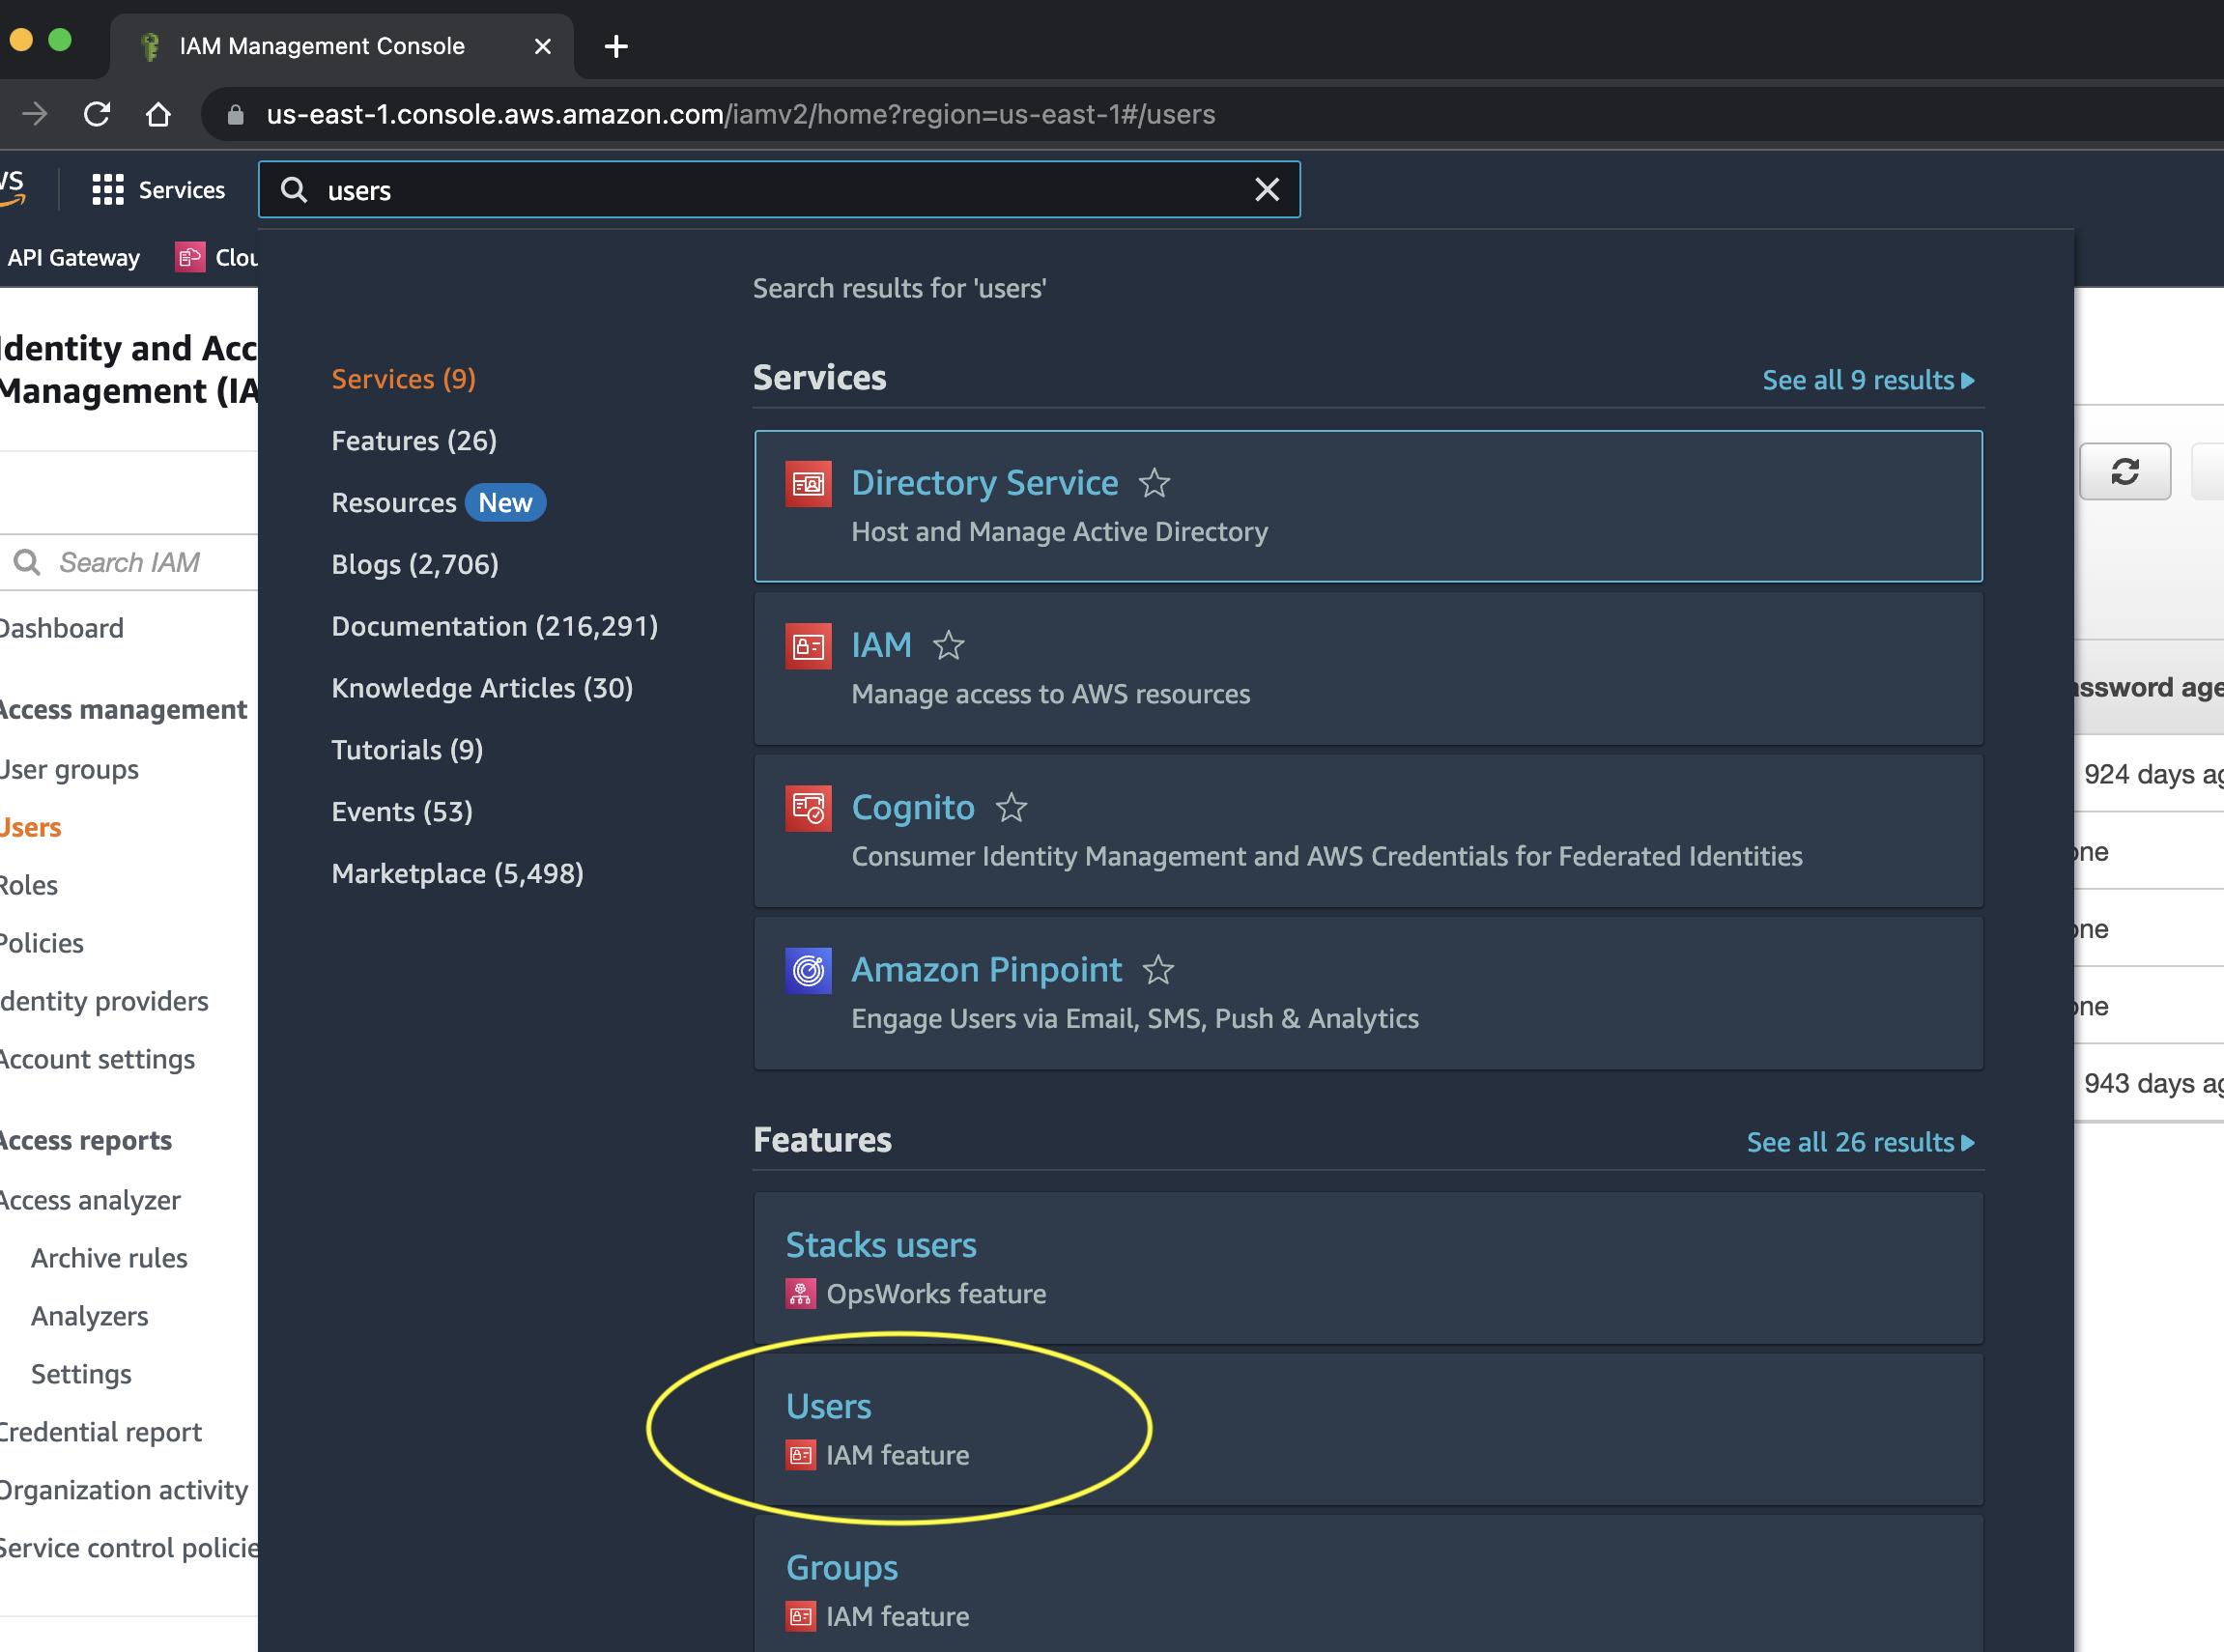
Launch your browser and navigate to the AWS Management Console. Enter the word users in the search bar and then click on the Users with IAM Feature.
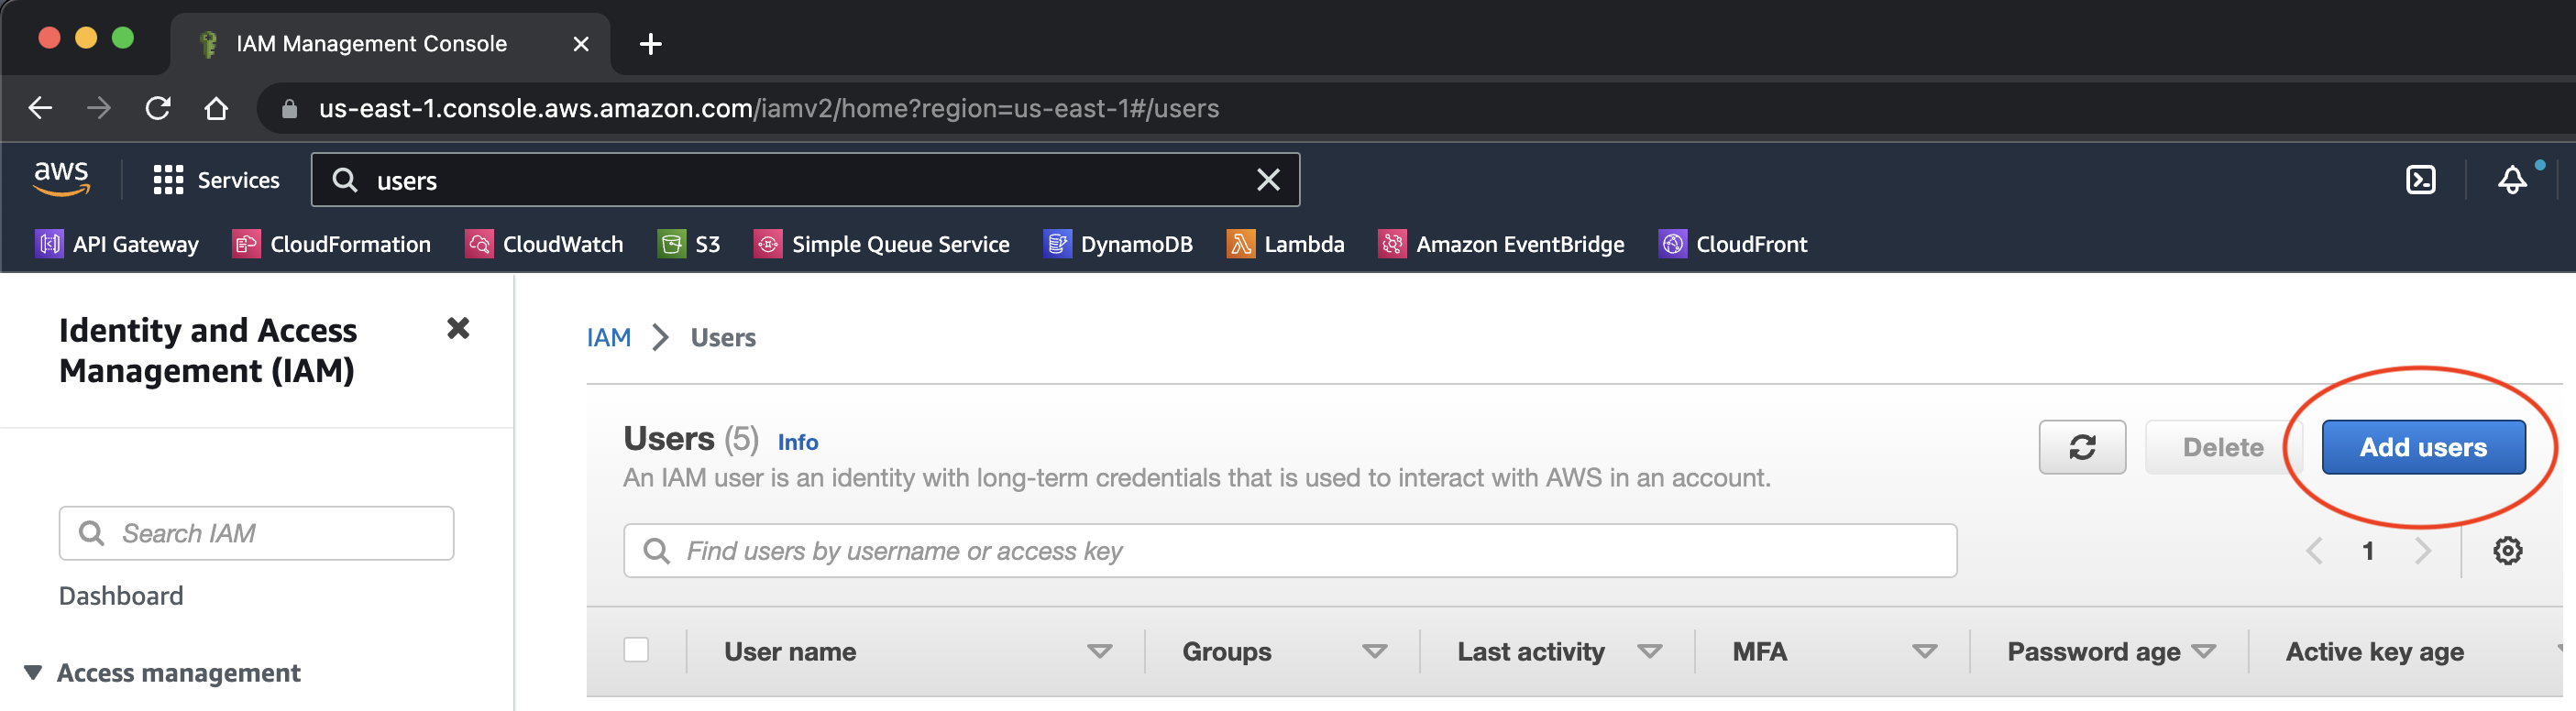
On the Users page, click on the Add users button - you will then be shown a page where you will enter a username.
After entering a user name, click on Next to set the permission for the user you are creating. Select the "Attach policies directly" option and check the "AdministratorAccess" policy.
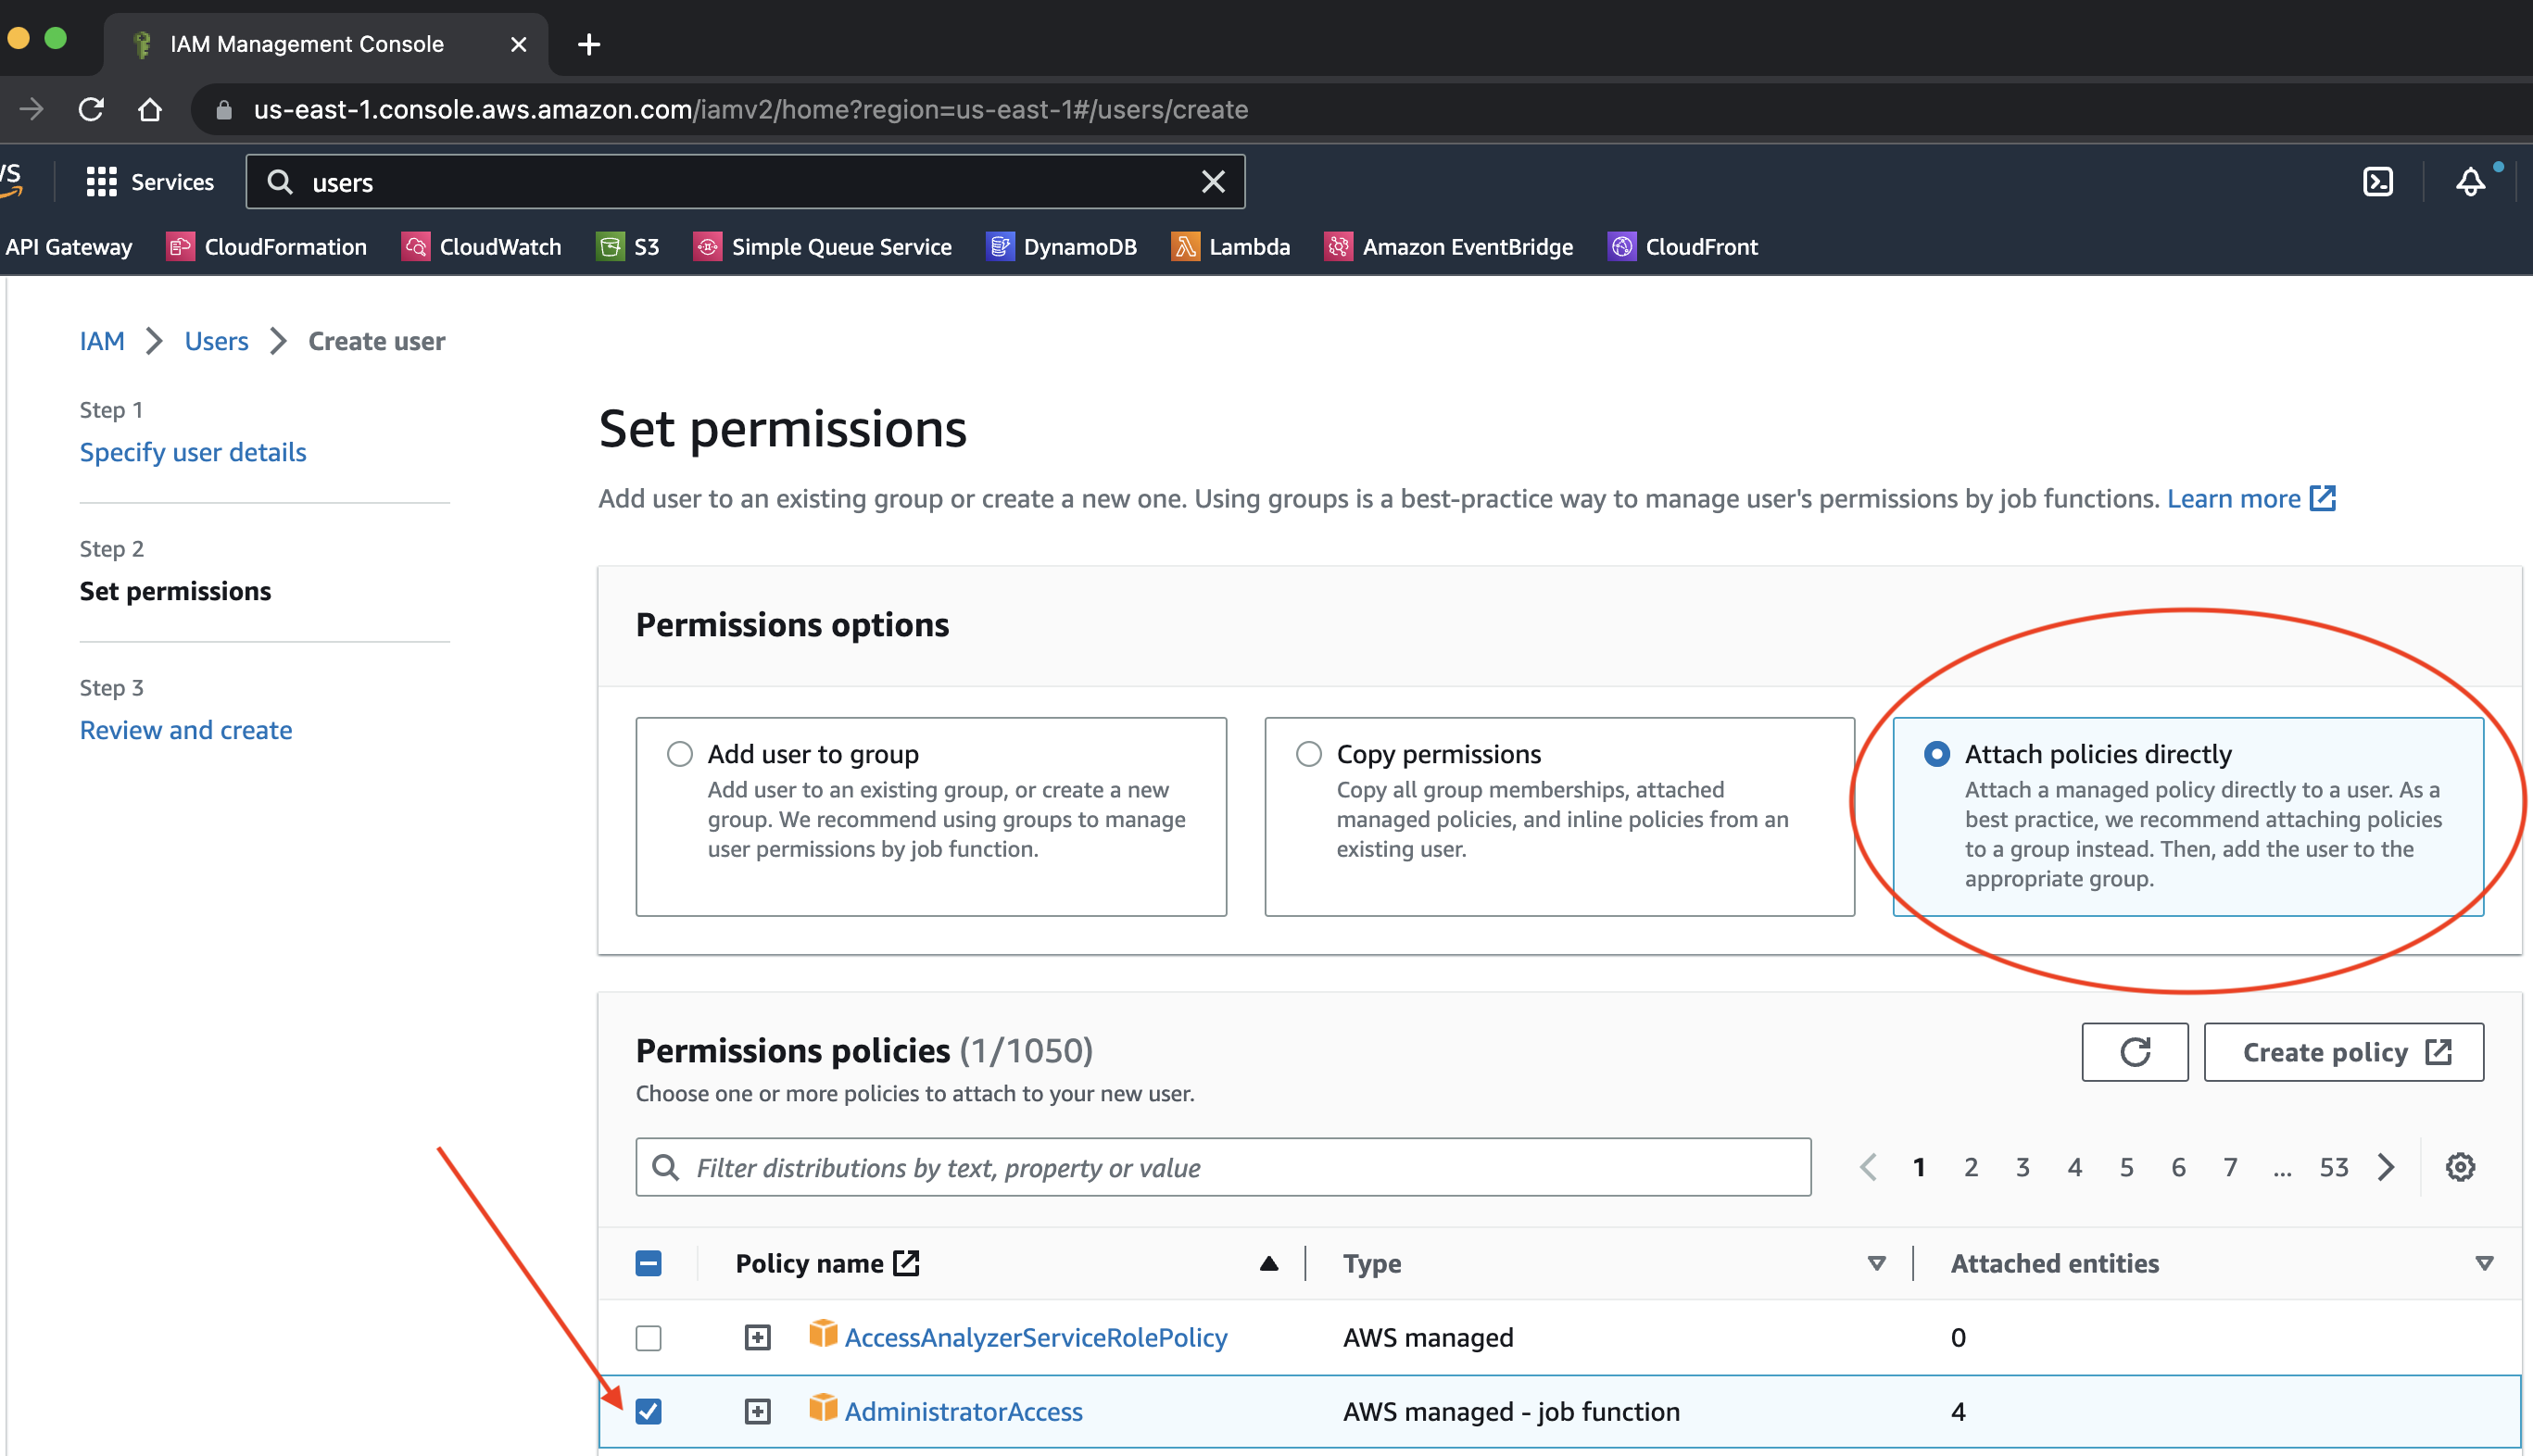
At the bottom of the page, click on "Next" to review your settings and finally, click on the "Create User" button.
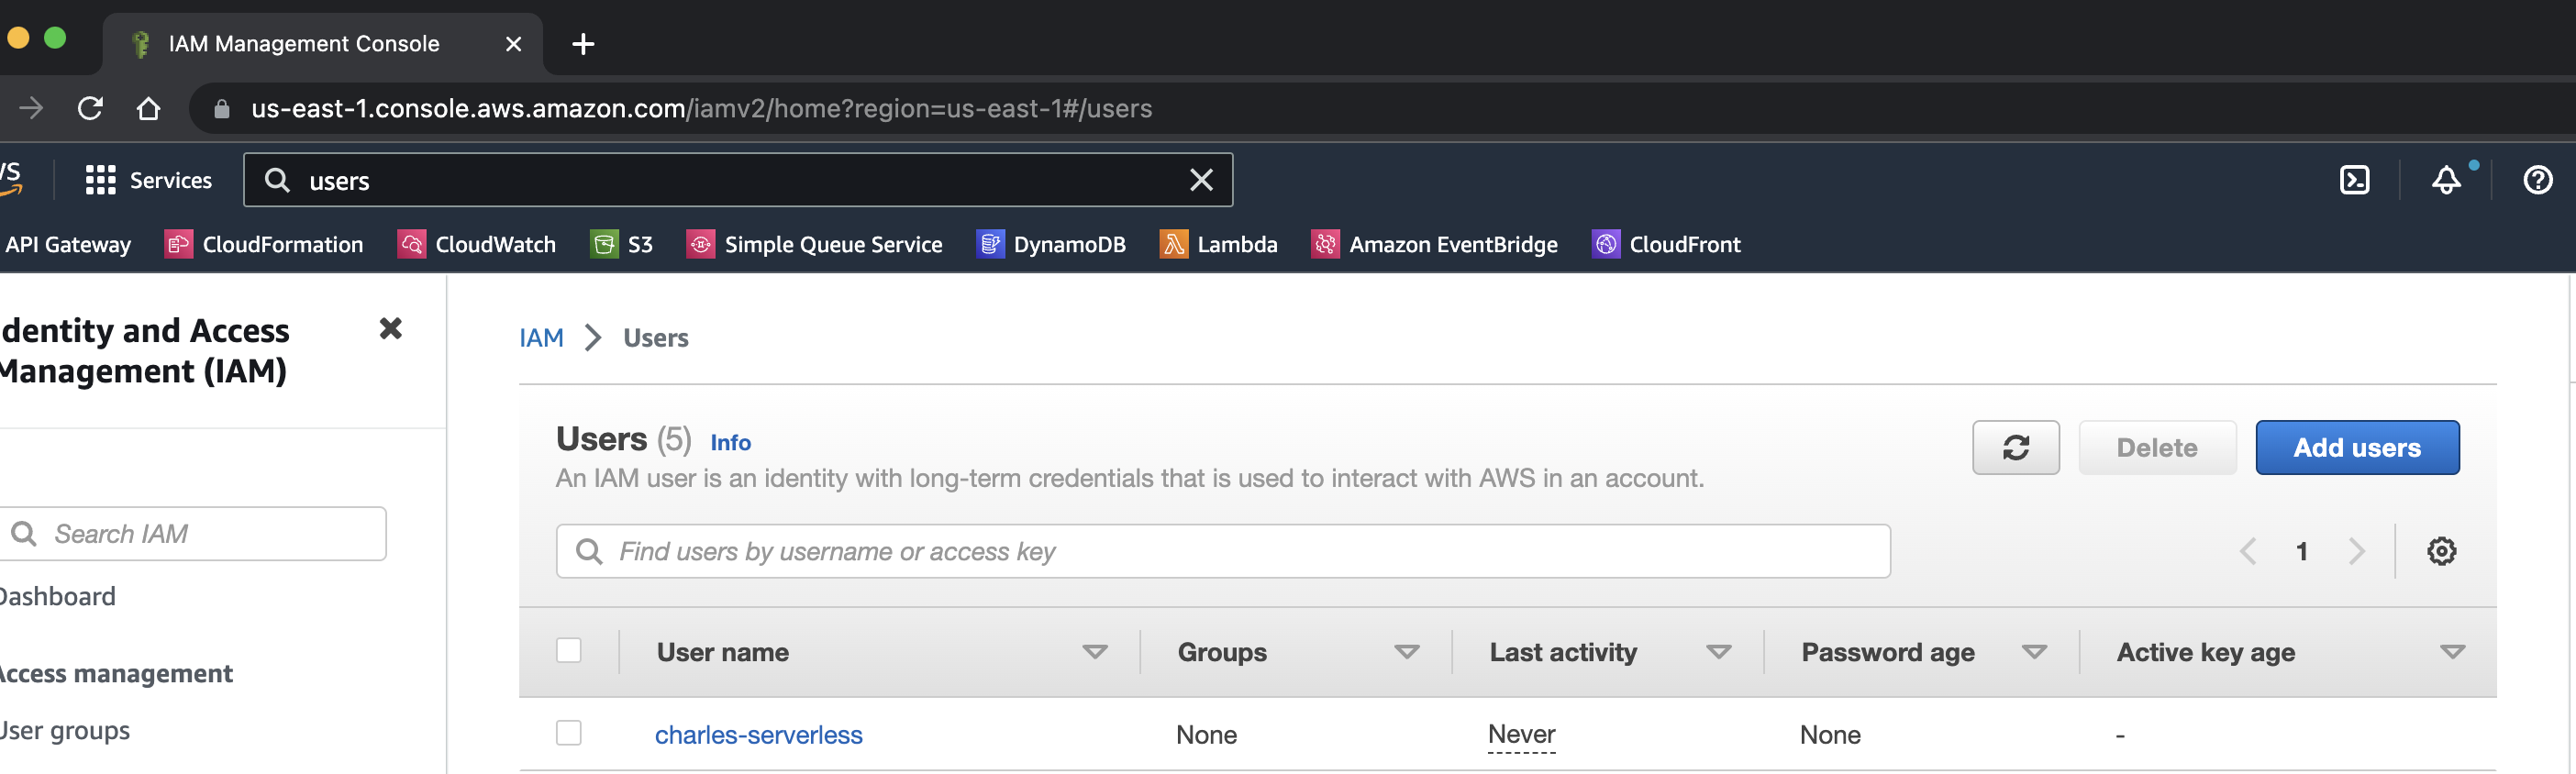
After creating the user, you will be taken back to your Users page where you can find the newly created user entry.
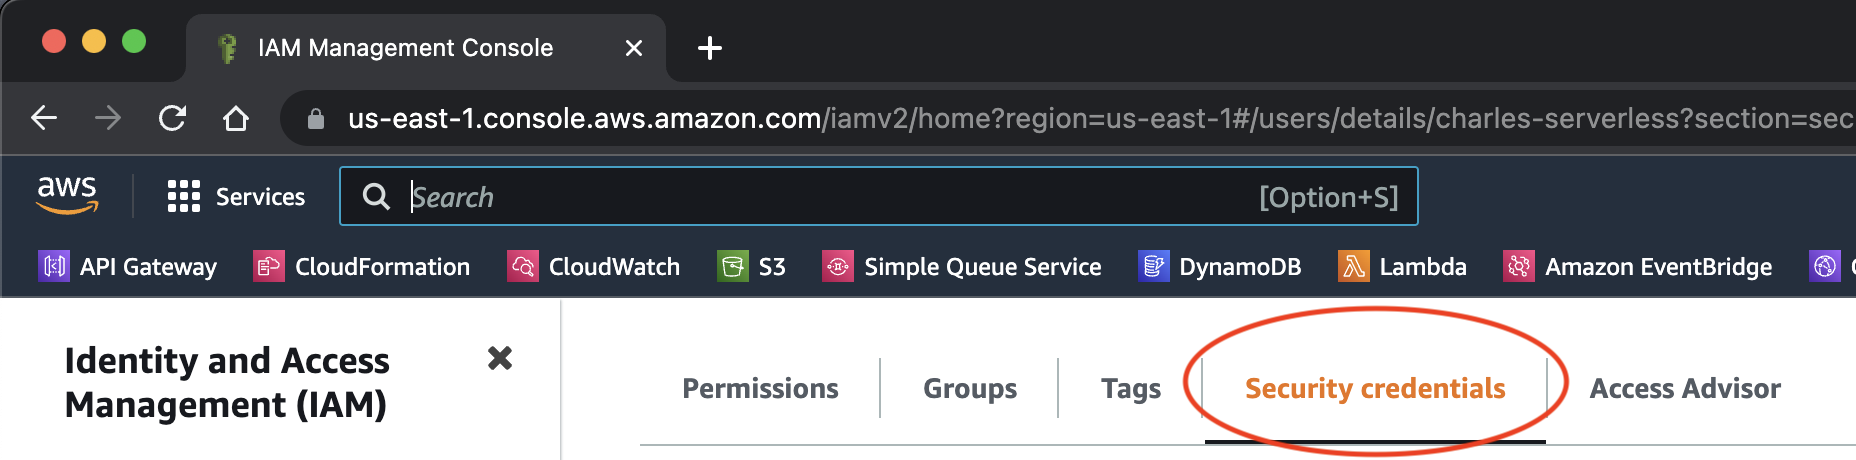
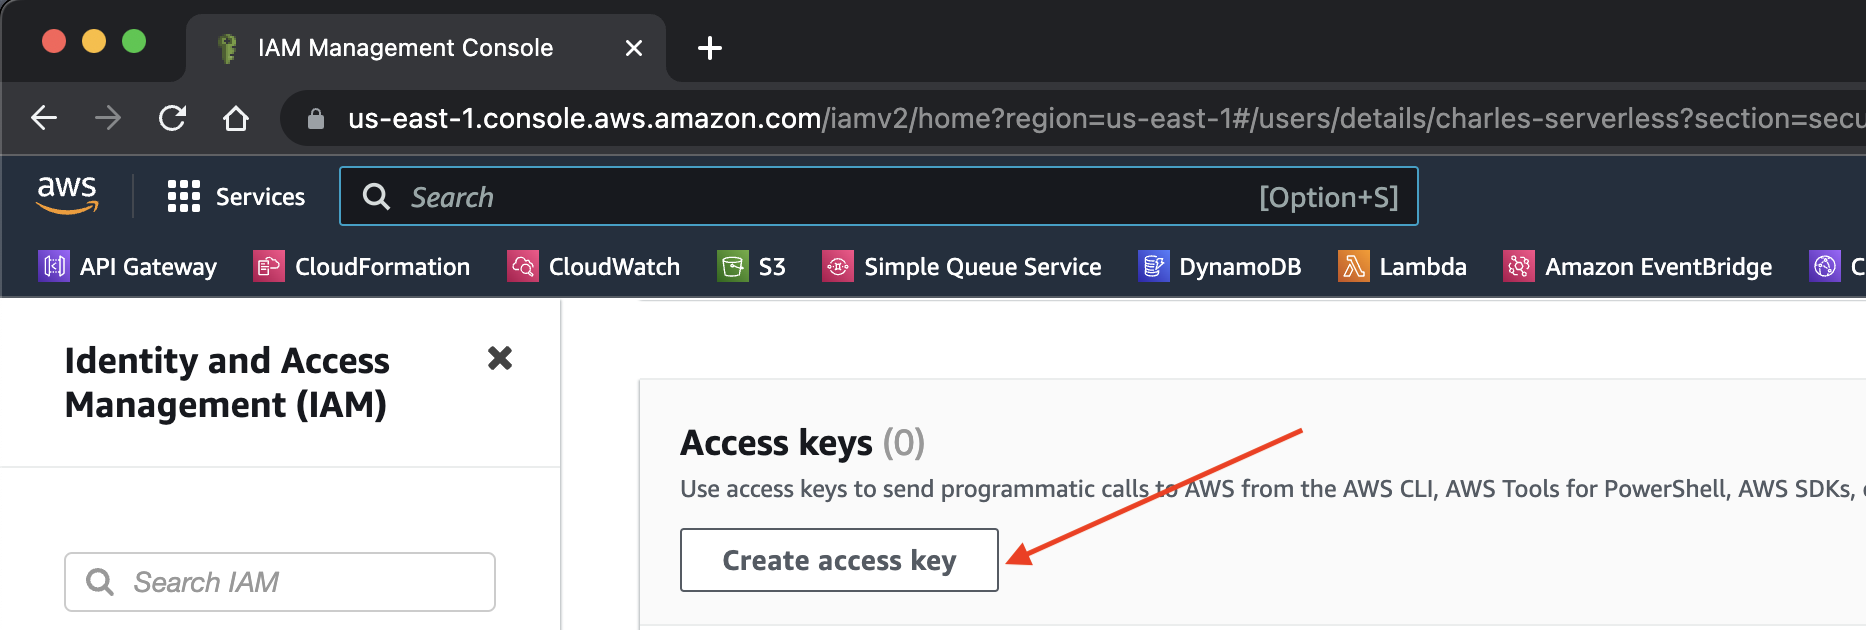
Click the newly created username and then select the "Security Credentials" tab. Locate the "Access keys" section on the same page and click on the "Create access key" button
To create your access keys, select the "Local code" option and agree by checking the proceed checkbox then click "Next".
You can ignore adding tags on the next page and then click on the "Create access key" button.
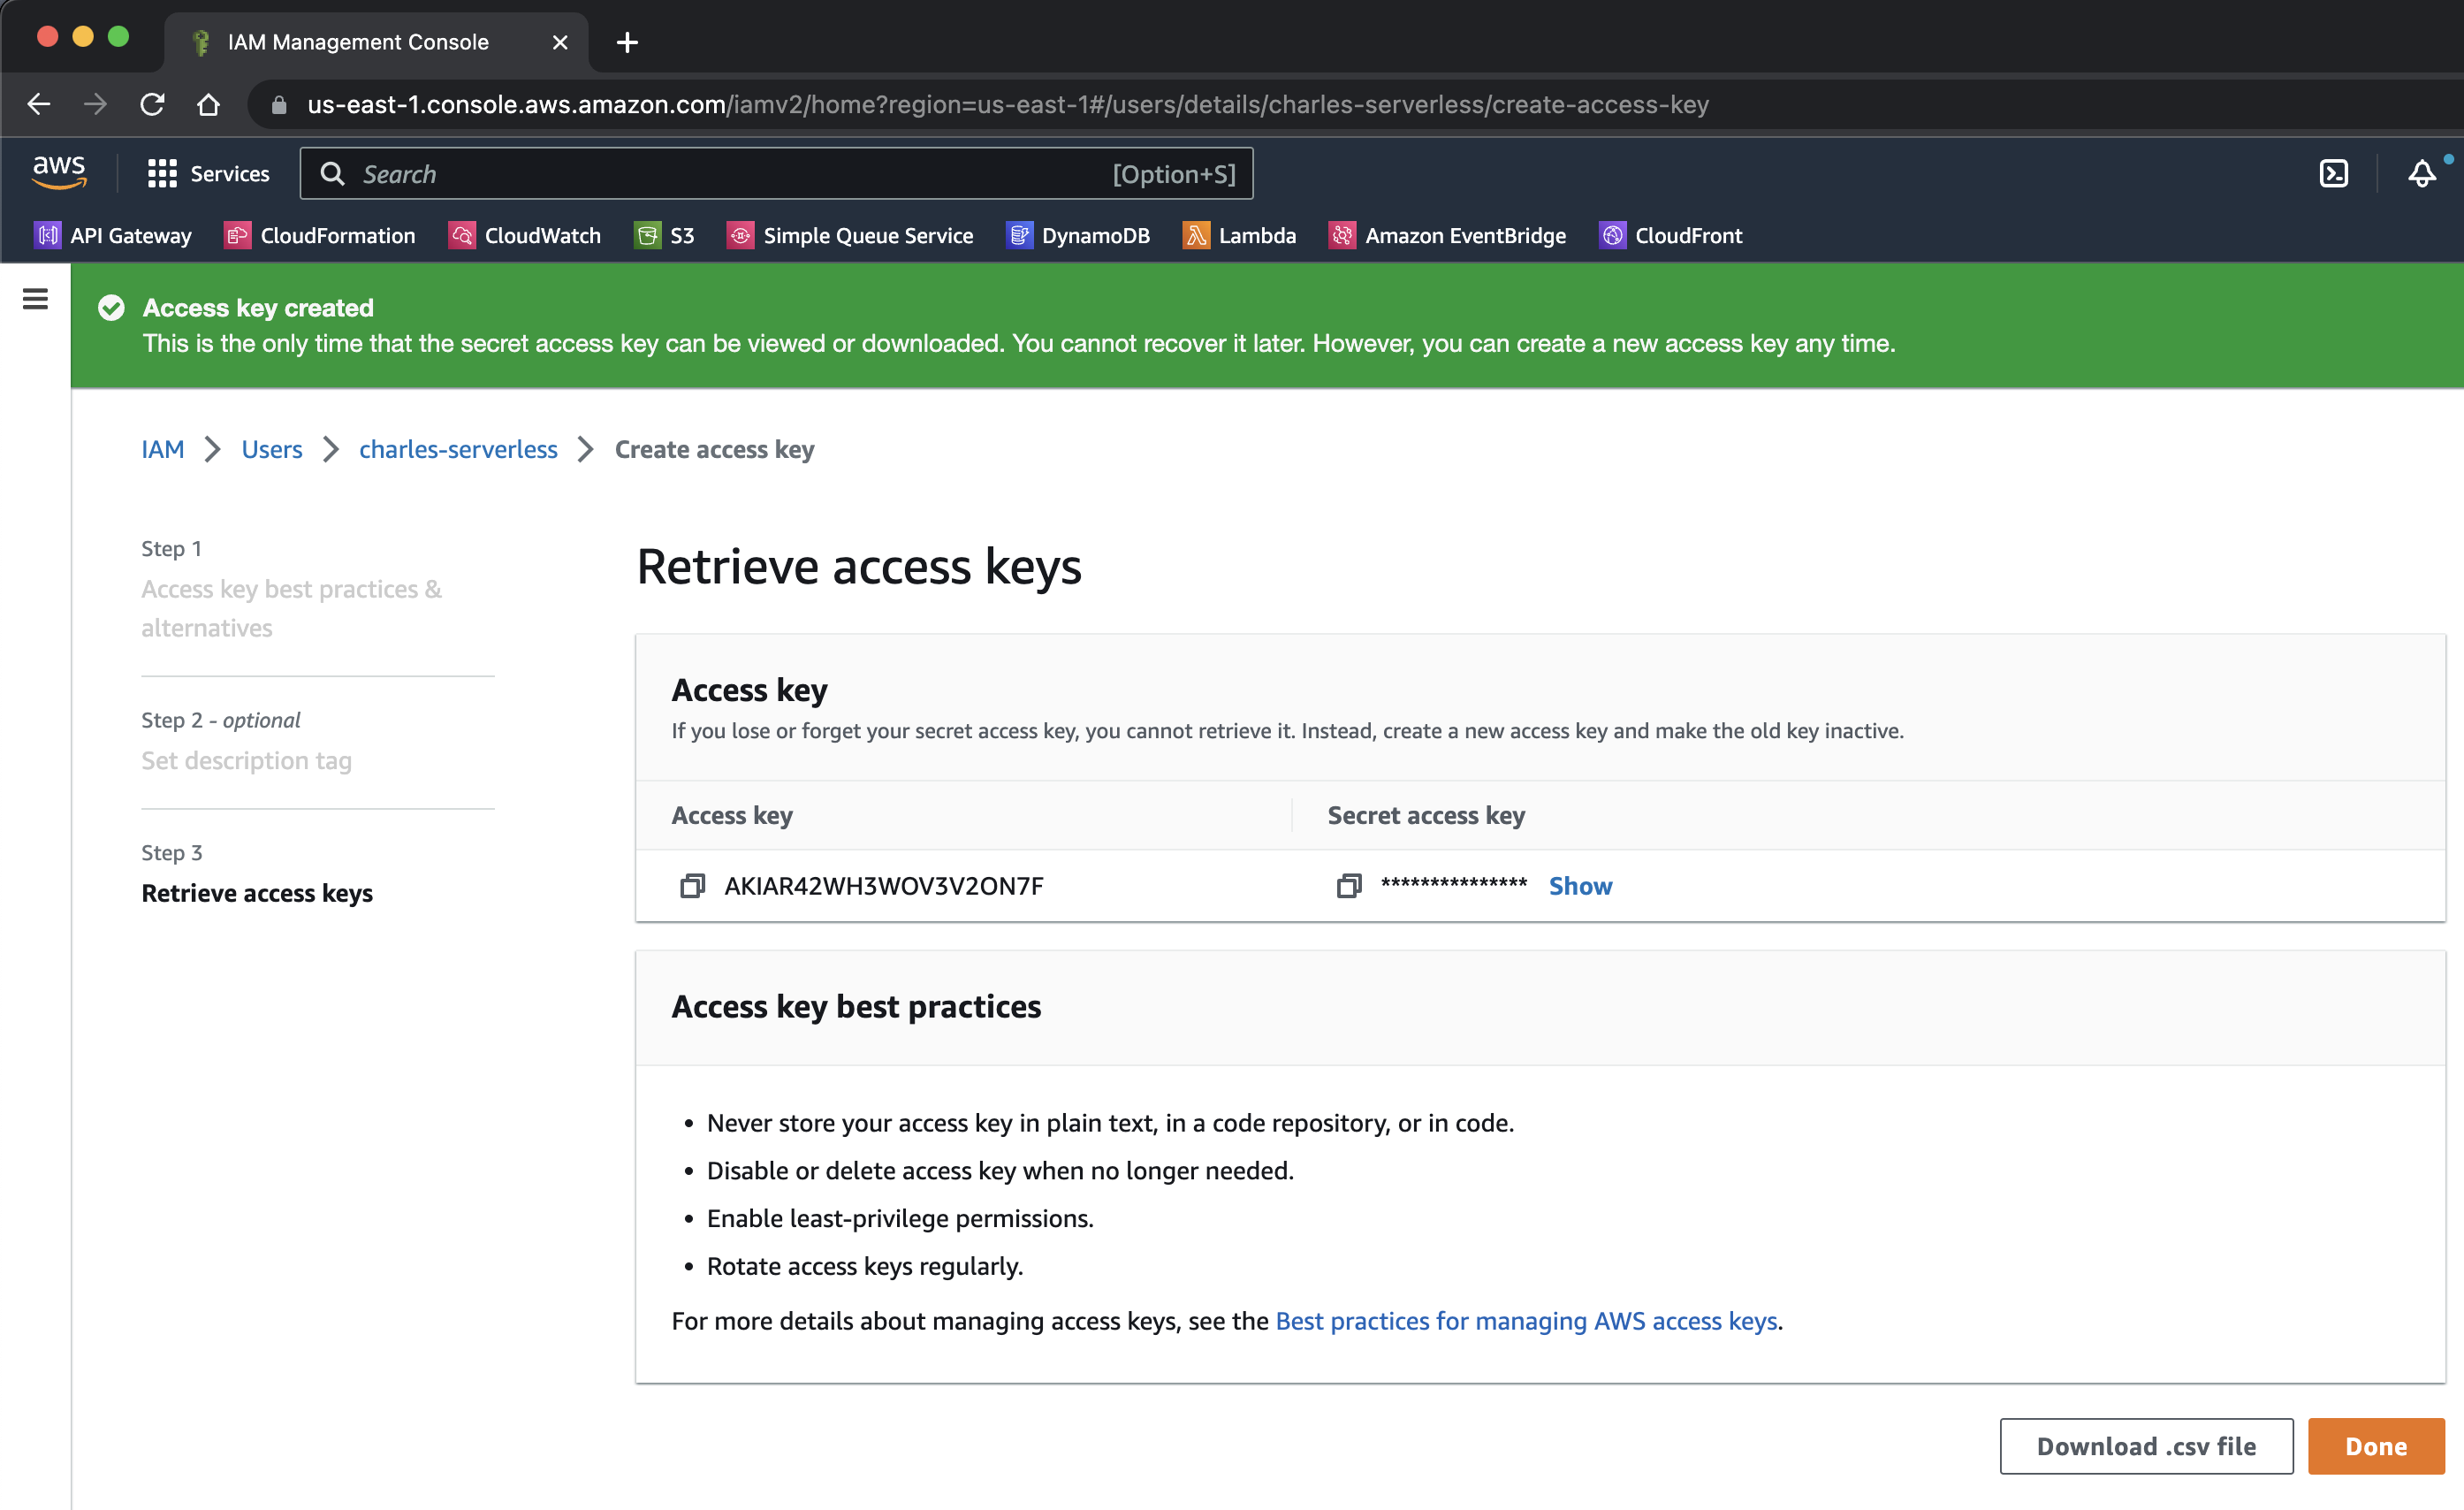
Congratulations, your access keys have been generated. Copy these keys to a safe place because you will be using them in the next section.
Step 2: AWS CLI
CLI is an acronym for Command Line Interface and is typically a lightweight and text-based application that runs via the command line, where it draws its name from. You interact with a CLI using commands as specified by the developers of the CLI. One of the features of AWS CLI is creating a connection between your local development environment and your AWS account such that you can issue commands via the CLI that will be received and responded to by the corresponding AWS service through your AWS account. This typically means you don't need to visit the management console to perform these actions.
You can install the AWS CLI by following the prompts for your specific OS below.
Linux
Download the package as a compressed file - currently comes as a
.zipextension and unpack the contents to anawsdirectory.curl "https://awscli.amazonaws.com/awscli-exe-linux-x86_64.zip" -o "awscliv2.zip" unzip awscliv2.zipFor users with ARM-based OS, you have to substitute the curl request above, for the one below.
 curl "https://awscli.amazonaws.com/awscli-exe-linux-aarch64.zip" -o "awscliv2.zip"
 unzip awscliv2.zip
Install by running the install executable file
sudo ./aws/install
macOS
Download and install using
curlcommandcurl "https://awscli.amazonaws.com/AWSCLIV2.pkg" -o "AWSCLIV2.pkg"Install using the command below - this installs the AWS CLI package to your root directory
sudo installer -pkg ./AWSCLIV2.pkg -target /
Windows
Download and execute using the command
msiexec.exe /i https://awscli.amazonaws.com/AWSCLIV2.msi
AWS CLI Version
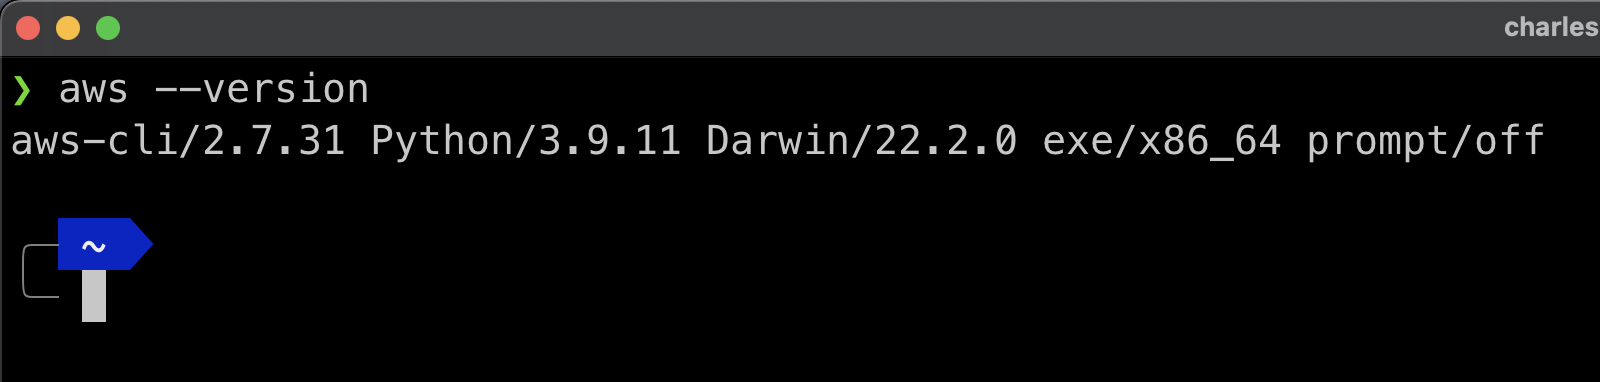
After the installation has been completed, you can verify that it was done correctly by running the command aws --version. This will display an output of the current AWS CLI and its dependencies.
aws --version
Configure AWS CLI with Access Keys
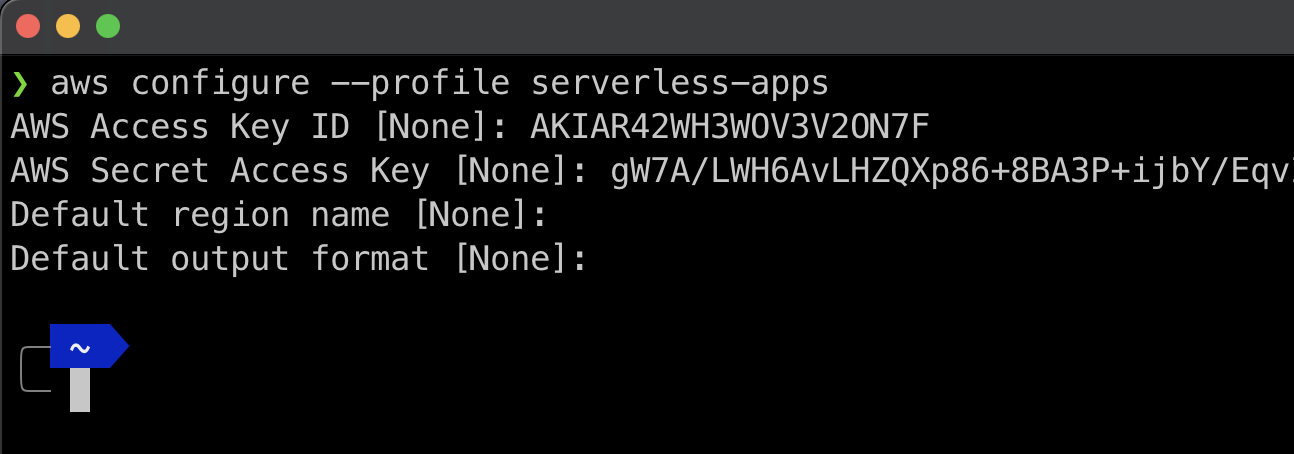
You will now configure your AWS CLI with the access keys in Step 1. To do this you have to run the command aws configure --profile serverless-apps Place the respective keys when prompted by the CLI. You can allow the default entry for Default region name and format.
You should never share your access keys. You can quickly delete access keys that you think have been compromised in the Access Keys section and create a new one
Step 3: Node.js
Node.js is a runtime environment for executing JavaScript and TypeScript languages. You will be writing your applications in JavaScript or TypeScript therefore you have to download and install Node.js runtime. To download Node.js, I recommend downloading via NVM.
NVM
NVM is short for Node Version Manager. It is a tool that manages different versions of the Node.js runtime. With NVM, you can switch between versions of Node.js when necessary. For example, if Project A requires Node.js 14 and Project B requires Node.js 16, with NVM, you simply need to issue the command nvm use <version> to switch between Node.js versions for different projects seamlessly. See the commands below to download NVM.
Installing NVM
curl -o- https://raw.githubusercontent.com/nvm-sh/nvm/v0.39.1/install.sh | bash
OR
wget -qO- https://raw.githubusercontent.com/nvm-sh/nvm/v0.39.1/install.sh | bash
When either of the commands above is run via the Command Line, it downloads and runs a script that clones the nvm repository to a .nvm folder and thereafter attempts to add the line of code below to one of the profile files: [~/.bash_profile, ~/.zshrc, ~/.profile, or ~/.bashrc]
Profile file
export NVM_DIR="$([ -z "${XDG_CONFIG_HOME-}" ] && printf %s "${HOME}/.nvm" || printf %s "${XDG_CONFIG_HOME}/nvm")"
[ -s "$NVM_DIR/nvm.sh" ] && \. "$NVM_DIR/nvm.sh" # This loads nvm
After that is done and you have verified that the file was updated, you should close the Command Line and launch it. This is a way to get NVM to startup with its config. To verify that it was successfully done, you should enter the command nvm --version which will return the current version of NVM installed. I have included a snapshot of this command and the output. Ensure you have the same version number or higher.
NVM Version
nvm --version

If you face any issues with this installation, please refer to NVM README on Github.
Installing Node.js
After you're done installing NVM, you can then install Node.js via NPM. You can do so using the command below.
nvm install --lts
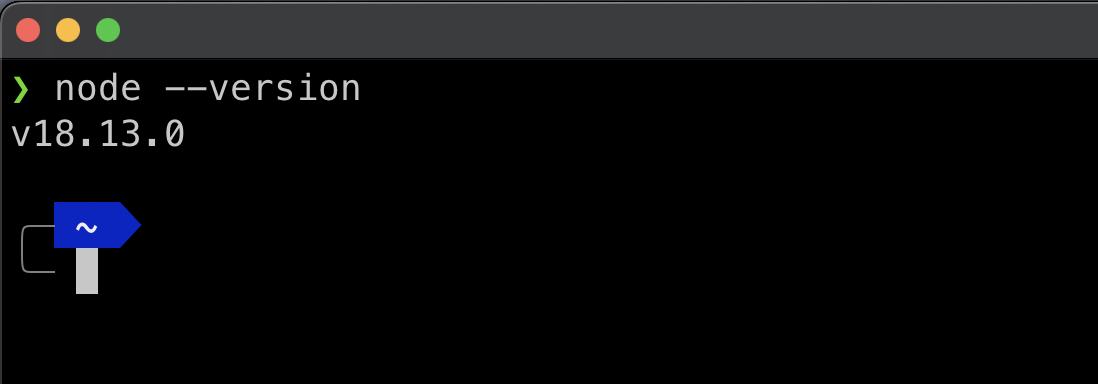
With this command, the NVM that's currently installed goes to work by downloading and installing the latest Node.js LTS (Long Term Support) version to your computer. After this is done, you can as well, run a command to ensure you have Node.js installed. This is done via the command node --version
Node.js Version
node --version
After issuing this command you should get an output that tells you the current version of Node.js installed on your computer.
Step 4: Serverless Framework
Serverless Framework helps you build, deploy and manage Lambda functions easily which in turn makes up your serverless application. To get started building a serverless application, you need to install this framework which is easily done by running npm install -g serverless.
Installing Serverless Framework
npm install -g serverless
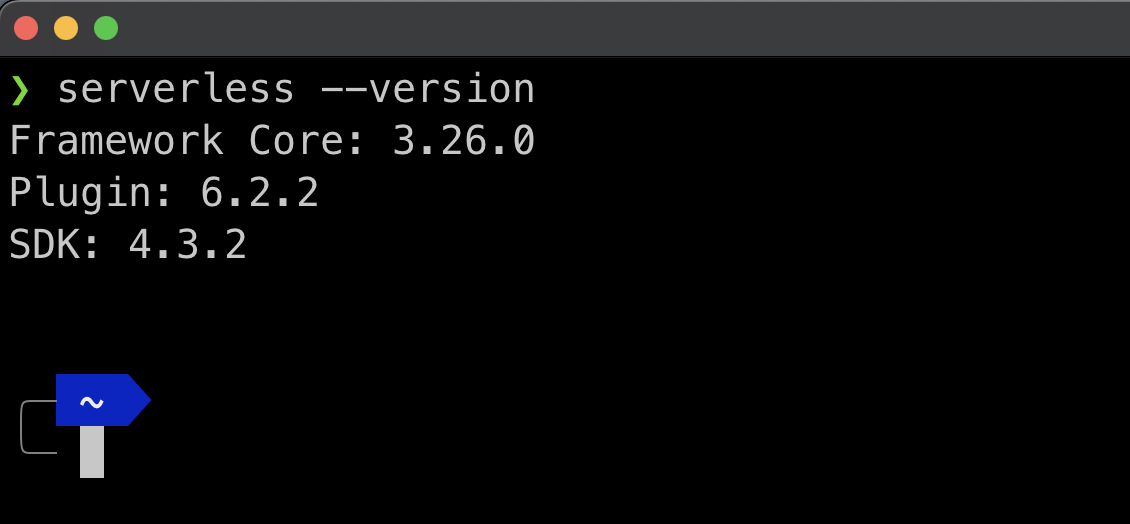
To verify you have correctly installed the Serverless Framework, you should be able to successfully run the serverless --version or sls -v command. The output you get should be similar to the snapshot below on successful installation.
serverless --version
Serverless Version
With this, you have successfully installed the Serverless Framework. You can now start creating serverless applications using the Serverless Framework.
Code Editor
In developing serverless applications, you will be writing code. To aid in this writing, you need a code editor. A code editor is simply a text editor that's made specifically for authoring code. Many code editors support working with the Serverless Framework. Below is a list of some of the very popular ones you can choose from.
VS Code - Free
Sublime Text - Free/Paid
Jetbrains Webstorm - Paid
Jetbrains Fleet - Free
Notepad++ - Free
Bracket - Free
Select the one you are most comfortable with, paid or free and get cracking!
Conclusion
Congratulations! on getting to the end of this guide. Hopefully, you got similar prompts when verifying that you correctly installed any of the tools. There may be version number differences but that's perfect; it's proof you have a better version than I had when writing this article. You are now ready to get busy, developing those great serverless apps.
Happy serverless coding!